We were on a very tight budget and the bones of the kitchen were in good shape and had a descent amount of storage, so we decided that we could remodel on a budget and calm the crazy down and it would make a huge difference.

The overhead cabinet had to go, so we moved it to our mud room.

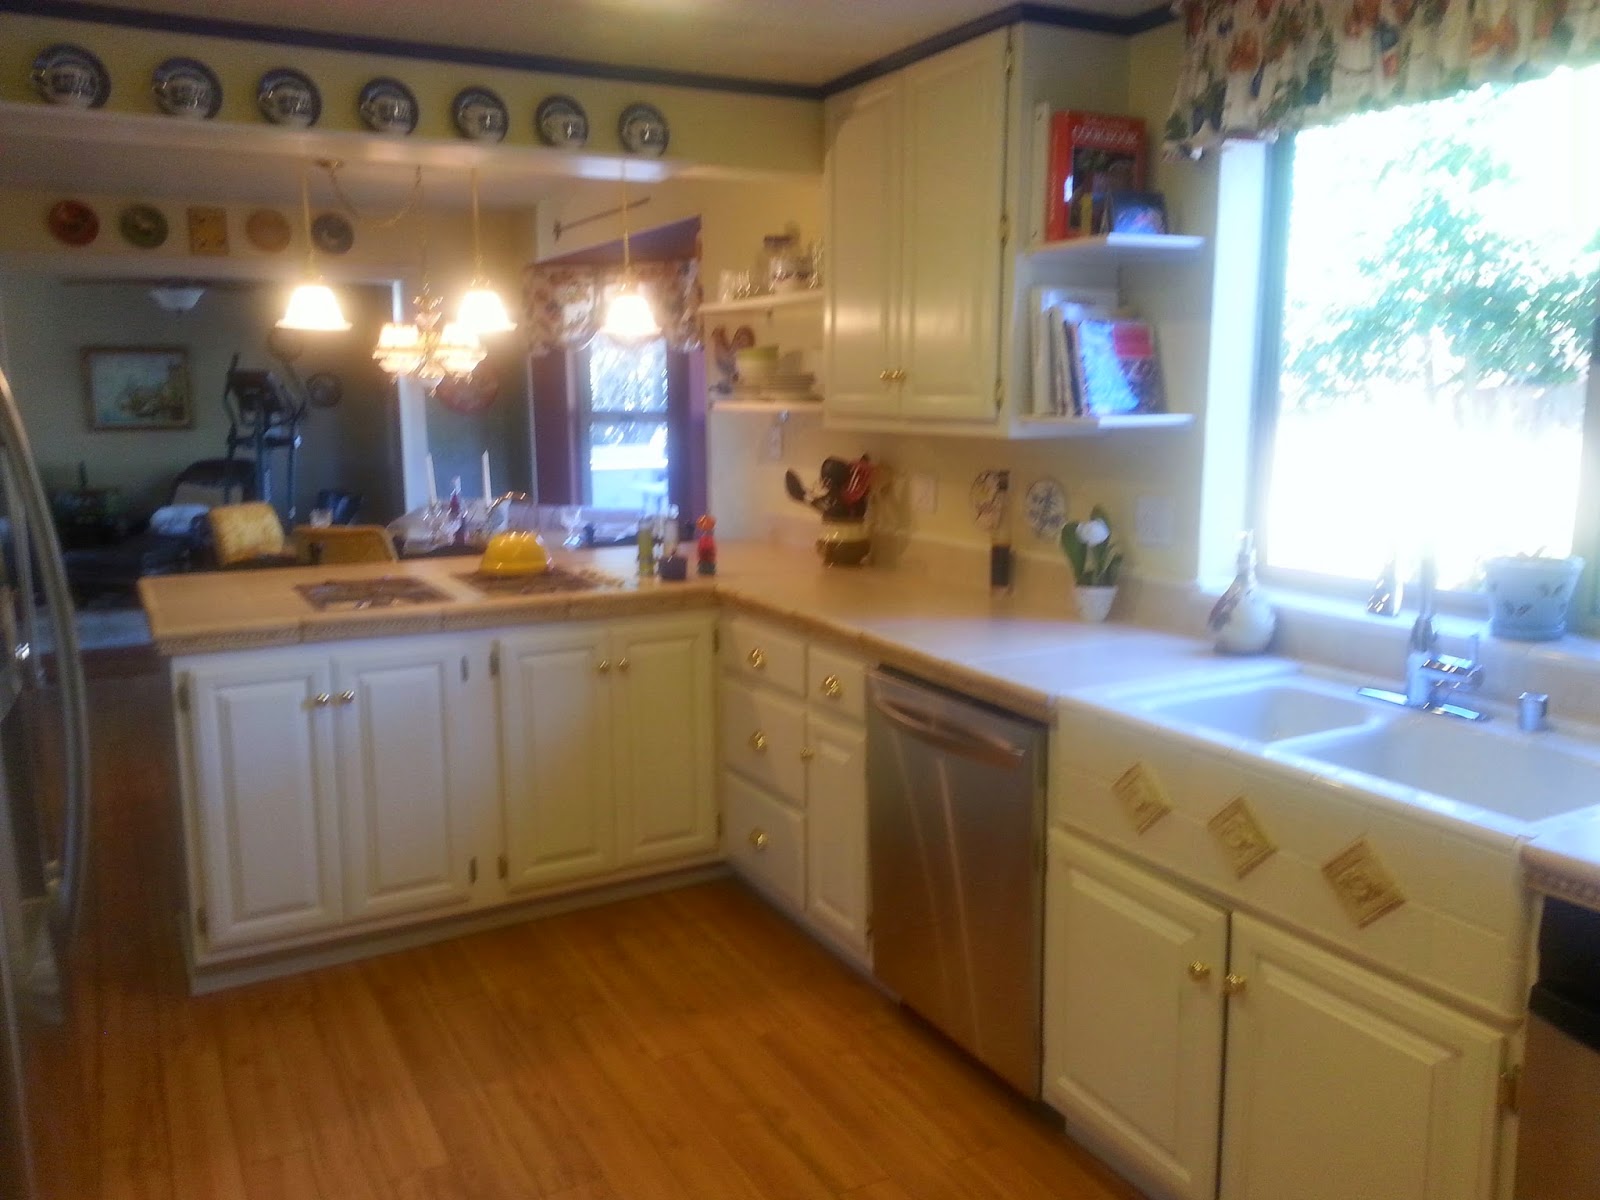
You can see the nasty grout that needed to go.
First things first; the cabinets needed to be painted and the tile needed to be replaced. I spent a few days stripping and sanding the cabinets, while Randy was at work, and shopping for good tile prices. I wanted limestone but the man at the tile shop asked me how often I use the kitchen and if I was a messy cook to which I answered, “yes” and he then recommended a large 16 inch tile that had the look of limestone and was significantly less expensive. Sold! –Now onto sinks; I wanted a farmhouse double sink. Can’t find one and wow are they ever expensive for those farmhouse style sinks. I came up with a clever idea to make it look like I had a farmhouse style sink while keeping the one we already had.
Then onto other stores to pick out cabinet knobs, lighting, faucet, a new stove top, and anagylpta wallpaper, among many other things, keeping in mind that we were on a very tight budget.
Randy took a week off in 1999 and we got straight to work. The first thing we did was take out the ugly oak fluorescent lighting box, and replaced it with recessed lighting. We weren’t able to raise the ceiling because it wasn’t in the budget and we weren’t sure how to address the upper cabinets, so that will have to wait until the “next kitchen remodel”, with a bigger budget. As you can see, the cat was with us every step of the way.


And quite curious to know if she could get up in the hole.
Once the lighting was complete, there was a dilemma. How do we match the new ceiling texture with the old, which was as if the builder had sprayed on the texture and forgot to knock it down. The answer was to use some of the anaglyptic wallpaper on the ceiling and make it appear to have a “tin ceiling” look.

Ceiling with "Tin look"
Now time to spray the new paint on the cupboards. Prepping is key, but no need to cover those ugly floors. They need to go too.

Now onto removing the ugly tile and prepping for the new tile. Yes, in hindsight, we should have done this step before painting the cabinets but you learn as you go and touch up paint along the way.

Happy to be shredding the tile.

Might as well add a GFCI plug for safety

Dry wall and replacing the dirty old plugs

Installing the Hardie Board

Setting the tile for my "fake" Farmhouse Sink

Grouting, then onto the edge pieces, which were a bear because they were so heavy.

prepping for the pendants
 |
| The bar chairs are helping to hold up the pendants while Randy wires them. |
Now onto texturing and sanding the walls and prepping for paint. I mixed some colors I had already to come up with a pretty pale yellow. Problem is now I need to touch up and will probably have to repaint everything as close to the color as I can find.

Melody even got involved by removing the base boards to prep for the new Armstrong Swiftlock Laminate Flooring in Hickory. -Which I strong do NOT recommend because although they were expensive, they wore out and look horrible.
 |
| The floors were added a couple of years later as we needed to replenish our savings account. |
 |
| Almost done! Just gotta get the new base boards back in. I must say though that these floors have not held up well. They are Armstrong Swiftlock in Hickory. The grooves seem to be painted on instead of laminated on and the paint has worn off and now the grooves are dark and look like dirt, but if you look closely you will see the the paint has peeled off. |
Over the years the curtains have evolved as well. I originally put in cafe curtains in the dining room.
 |
| The family expressing gratitude and fullness around the Thanksgiving table. That ugly light is gone now. |
And more recently since Randy built such a lovely deck and outdoor kitchen, Sister-in-Law Christy said the cafe curtains are blocking the great view so I took them down and made them into stationary Roman Shades and painted the bay nook a little bit darker.
More recently as the kitchen has been evolving I wanted a new table. -Or did I. Something Country French or maybe I just needed to paint the old table.


Here are some more recent results...


While I post, we are in need of some more remodeling. The stove is breaking and the new stoves have different cut-outs which requires new counter tops. The cabinet doors are cracking in places and the floor is warped.
So stay tuned again...
No comments:
Post a Comment